Table of Contents
*This post may contain affiliate links. As an Amazon Associate we earn from qualifying purchases.
A good fisherman’s knot is one of the most essential skills any budding angler needs to know. What could be more frustrating than hooking a good-sized trout only to lose your dinner when reeling it in? Learning how to tie a fish hook is simpler than you may think, and we were wondering what simple instructions we can pass on to guarantee those hooks (and fish) will stay on the line.
There are dozens of different ways for how to tie a fish hook, but most anglers will default to one or two for most of their rod and reel action. The fisherman’s knot, cinch knot, and improved cinch knot are the simplest and most reliable way, to tie a fish hook. From there, dozens of variations have evolved to adapt knot tying to a variety of fishing techniques. Try a few different types to discover what works best for your fishing needs.
Tying fish hooks onto lines does not have to be intimidating. By following a few simple directions and with some practice, you will tie reliable fisherman’s knots and keep the fish you have waited so patiently for on the line. In this article, we have outlined seven of the most basic and essential ways to tie a fish hook including the fisherman’s cinch knot, the Palomar knot, the turle knot, the blood knot, the Orvis knot, the Davy knot, and the Baja knot.
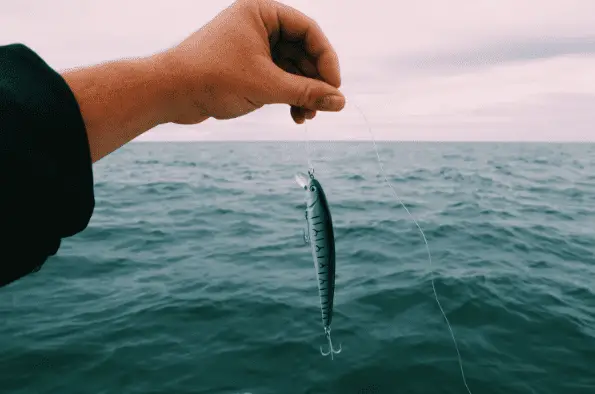
How To Tie A Fish Hook
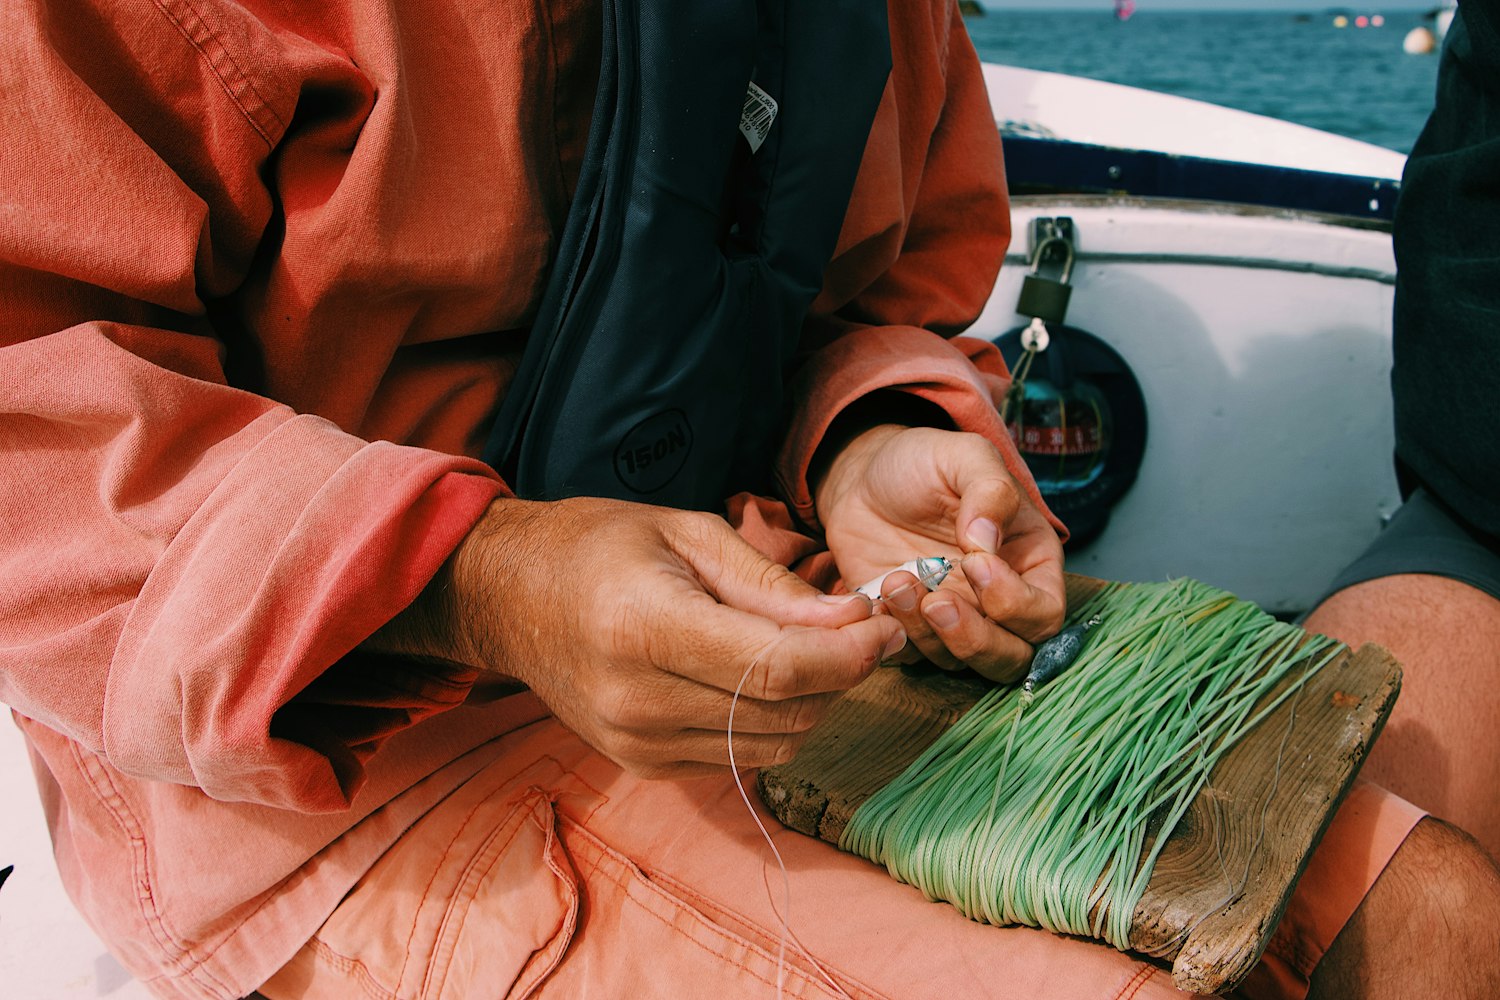
image source: Unsplash
We will give you some step-by-step instructions for how to tie a fish hook, but first, let’s start with the vocabulary you need to know. In knot tying, you will want to familiarize yourself with these words before moving on to practice the steps of how to tie a fish hook. Look at your reel, line and fish hook to identify these few keywords.
Vocabulary
- Tag End – This is the end of your line that will be tied into a knot. It sits furthest from your reel and pole
- Standing Line – The standing line is the rest of the line that goes towards your reel and away from the tag end
- Turn or Wrap – To turn or to wrap is when you pass the tag end of your line around the standing line one complete turn
- Eye – The eye is the open hole at the end of the hook where you will string your fishing line through
Tying A Fisherman’s (Improved Cinch) Knot
image source: Unsplash
- Thread the tag end through the eye of the fishhook and pull through about 8 to 12 inches of line. Hint – as a beginner, using more line makes it easier.
- Wrap the tag end around the standing line 5 to 6 times.
- Point the tag end back toward the loop and pass the tag end through the loop closest to the fishhook.
- Now turn the tag end back toward the standing line and pass it through the loop you just made.
- Tighten slowly by pulling on the tag end.
- Clip or burn the end of the tag end to about ⅛ inch.
Most of the time, anglers will use this basic, everyday knot as it is the strongest and most versatile way for how to tie a fish hook. It can be used to secure basic hooks, lures, and swivels. It is also easy to use as your initial fishing knot, most fishermen know how to use it, and it is essential for beginners.
The Palomar Knot
The Palomar knot is another basic knot that can secure a fish hook, lure or swivel.
- Double the tag end of your line to make a loop.
- Push the loop through the eye of your fish hook.
- Tie a loose overhand knot (like the first step of tying your shoes) using the tag end and standing line.
- Your hook will hang at the bottom of your loose knot. Pass the hook up through the looped tag end of the line.
- Tighten slowly by pulling on the tag end.
- Clip or burn the end of the tag end to about ⅛ inch.
Turle Knot
The turle knot is great for thin lines and tiny hooks. It does little good to have invisible lines and hooks ruined by big, bulky, visible knots. This is a simple knot that will work for delicate fishing.
- Run the tag end of your line through the eye of the hook.
- Tie a loose double overhand knot in the line.
- Pass the open loop tag end of the line over the hook.
- Keeping the looped tag end on the eye, slowly tighten the line.
- Clip or burn the end of the tag end to about ⅛ inch.
Blood Knot
Great for folks who like to use all bits and pieces of broken lines or do a quick repair to broken lines while fishing, the blood knot can join two sections of line together securely.
- Line up the two ends of your broken line overlapping them for several inches.
- Loop each end around the other line so you have two joined loops with ends facing away from each other.
- Wrap the first line around the second five times.
- Wrap the second line around the first five times.
- Bring the ends toward the middle and pass through first loops between the two lines.
- Pull each end tight.
- Clip or burn the ends to about ⅛ inch. Be careful not to re-damage the line you just repaired!
Orvis Knot
The Orvis knot is another alternative to the cinch knot and is a great way to learn how to tie a fish hook. It is secure enough for light fishing, but not as secure as the improved cinch knot.
- Thread the tag end of the line through the hook eye.
- Make a figure eight. Cross the standing line with the tag end and thread it back through the first loop.
- Pass the tag end through the top of the second loop.
- Pass the tag end again through the second loop a second time.
- Pull the tag end tight to finish the knot.
- Clip or burn the ends to about ⅛ inch.
Davy Knot
For simple and quick repairs, consider the Davy Knot. Fly fishermen use it often for a lightweight but strong knot that can quickly repair a broken line.
- Thread the tag end through the eye of the hook.
- Form an overhand knot, but keep it loose.
- Bring the tag end back over the knot and through the eye of the hook.
- Tighten by pulling the tag end.
- Clip or burn the ends to about ⅛ inch.
Baja Knot
The Baja knot is great for the heavy mono line. It requires some set after tying, but it will not slip once set. If you are tying on large hooks to a heavy fishing line, this is the knot to use. It is a little more complicated but worth practicing, especially if you intend to sea fish.
- Make a loop of the tag end of your line several inches from the end. This is the first of many loops you will make.
- Slide your hook onto the base of the loop and leave it hanging. One advantage of this knot is that it allows for some movement of the hook.
- Run the tag end across the front of the first loop and behind the standing line to create a second loop.
- Pinch the tag end and pull until the second loop is one third the size of the first loop.
- Repeat steps three and four but pull the tag end only until medium sized.
- Pass the hook through the middle loop and under the top loop.
- Pull the knot until semi snug.
- Set the knot. Holding the hook in pliers, pull the standing line hard to secure.
Conclusion
There, now you have several basic fisherman’s knots to practice how to tie a fish hook. We have arranged them from simplest to most complicated, so if you master one before moving on to the next, you will have an easier time remembering the steps. Don’t feel you need to know all kinds of fishing knots before heading out. Most anglers will use a fisherman’s or cinch knot most of the time, so make that the first skill you gain and build from there. We wish you secure knots and serene water.